How to Embed a Showit Survey Into Your Website
Surveys are a great way to collect feedback and learn more about your audience. Whether you’re gathering customer insights, running market research, or just making your site more interactive, adding a survey to your Showit website is easier than you think.
In this how-to, we’ll walk you through the simple steps to create and embed a survey without any coding.
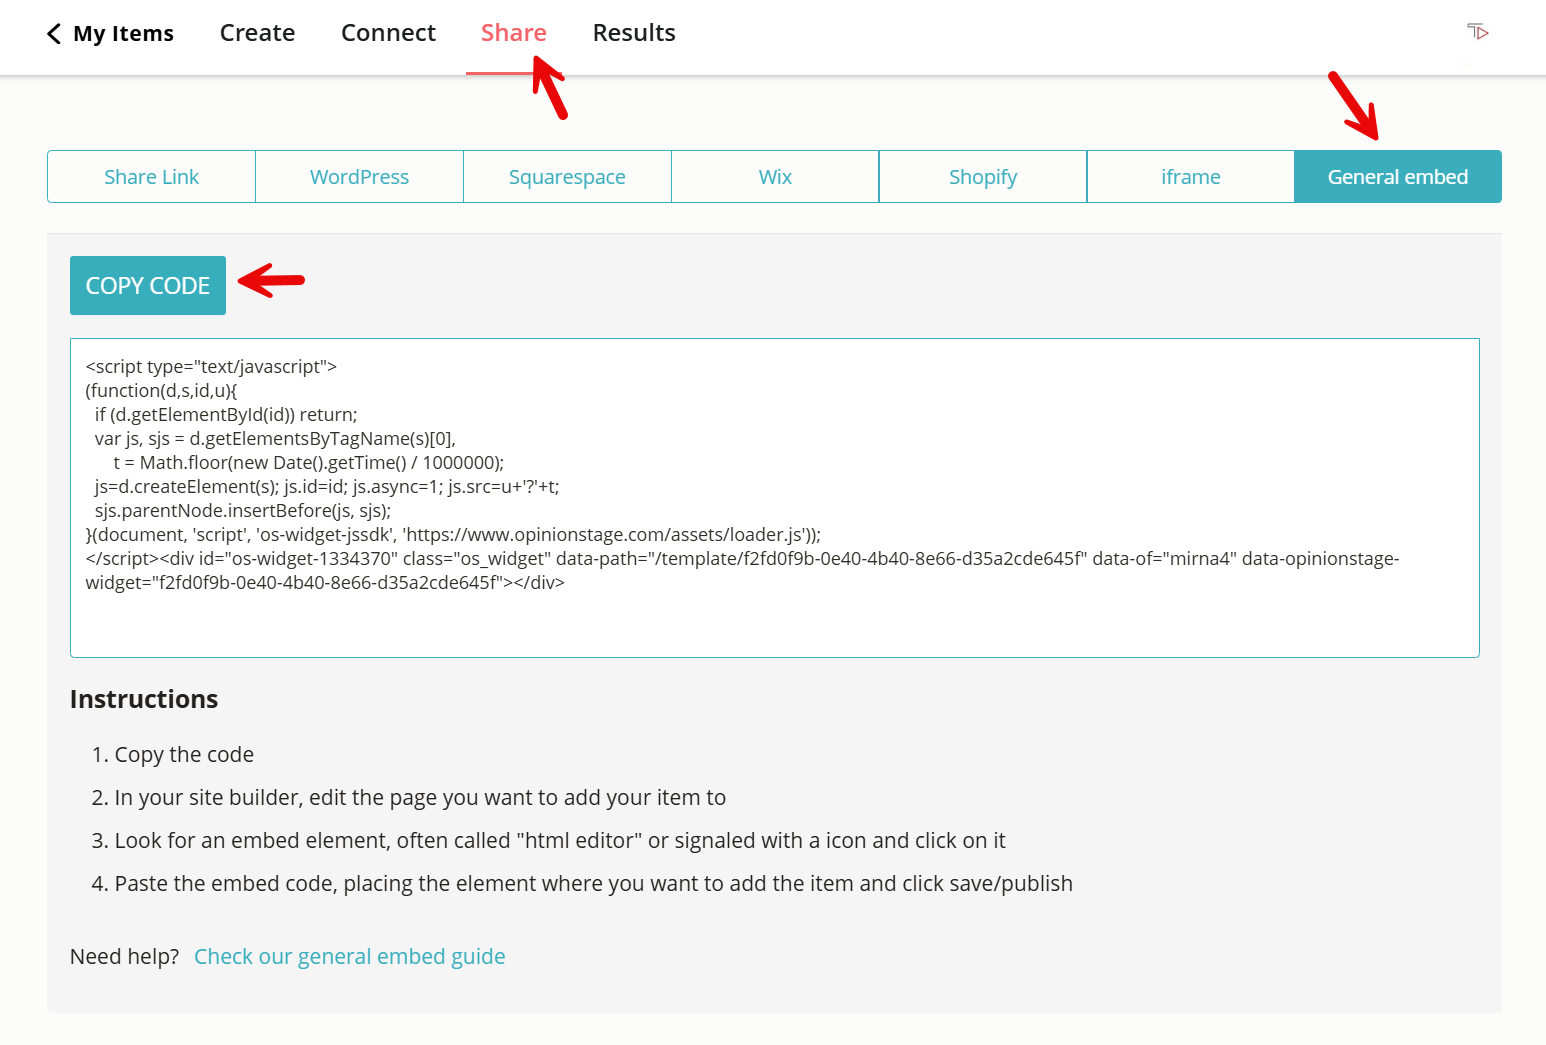
2. Copy the survey embed code
Click the ‘Share’ button at the top of your screen, then go to the ‘General Embed’ tab. From there, copy the embed code.
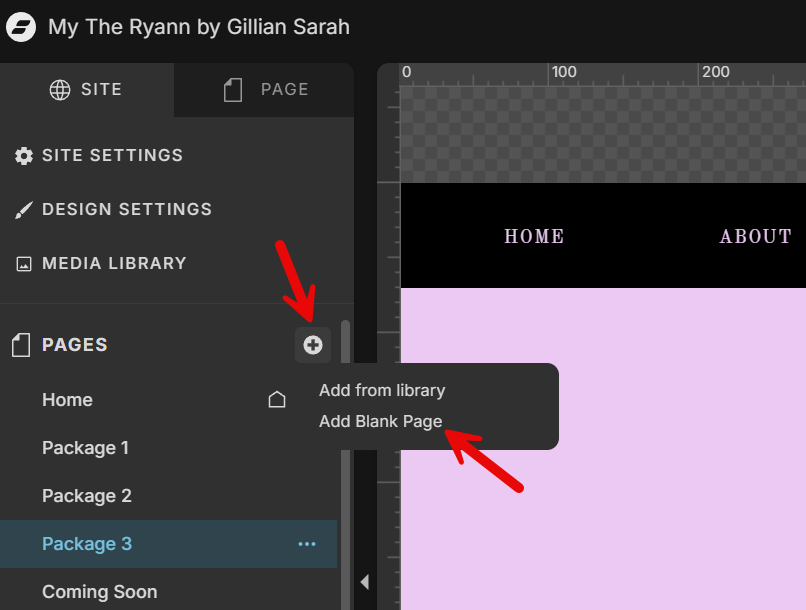
3. Add the survey to Showit
You can add your survey to an existing page or a new one. To create a new page, just click the ‘+’ icon and select ‘Add Blank Page’.
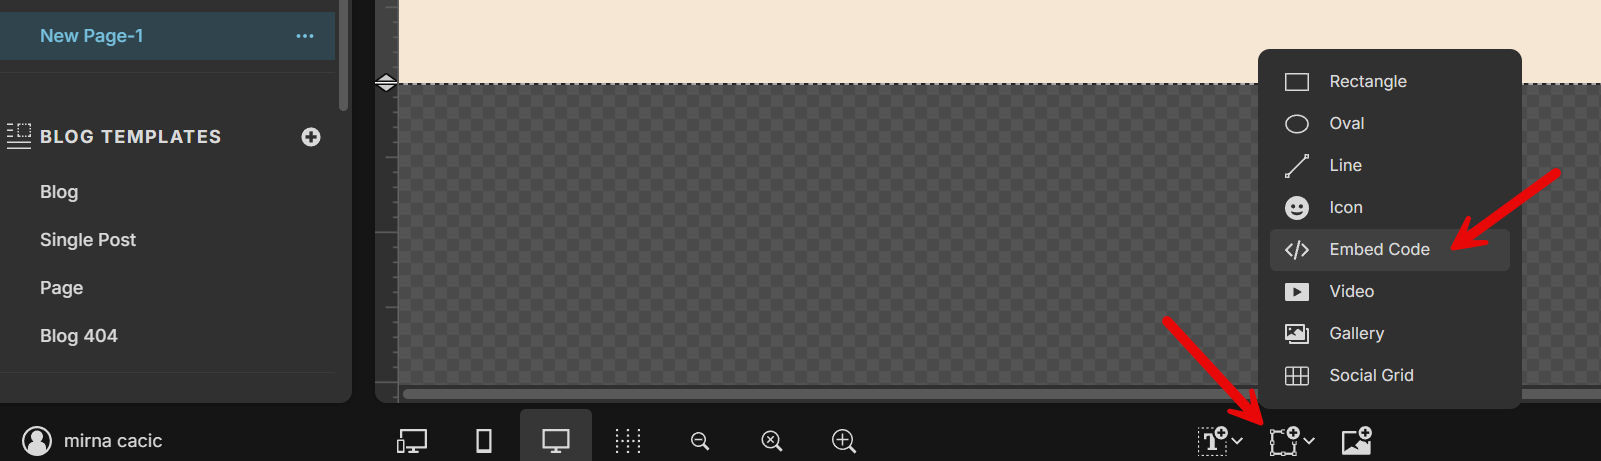
Click on your page to enable editing, then click on the picture frame icon at the bottom of your screen. Next, select ‘Embed Code’ to continue.
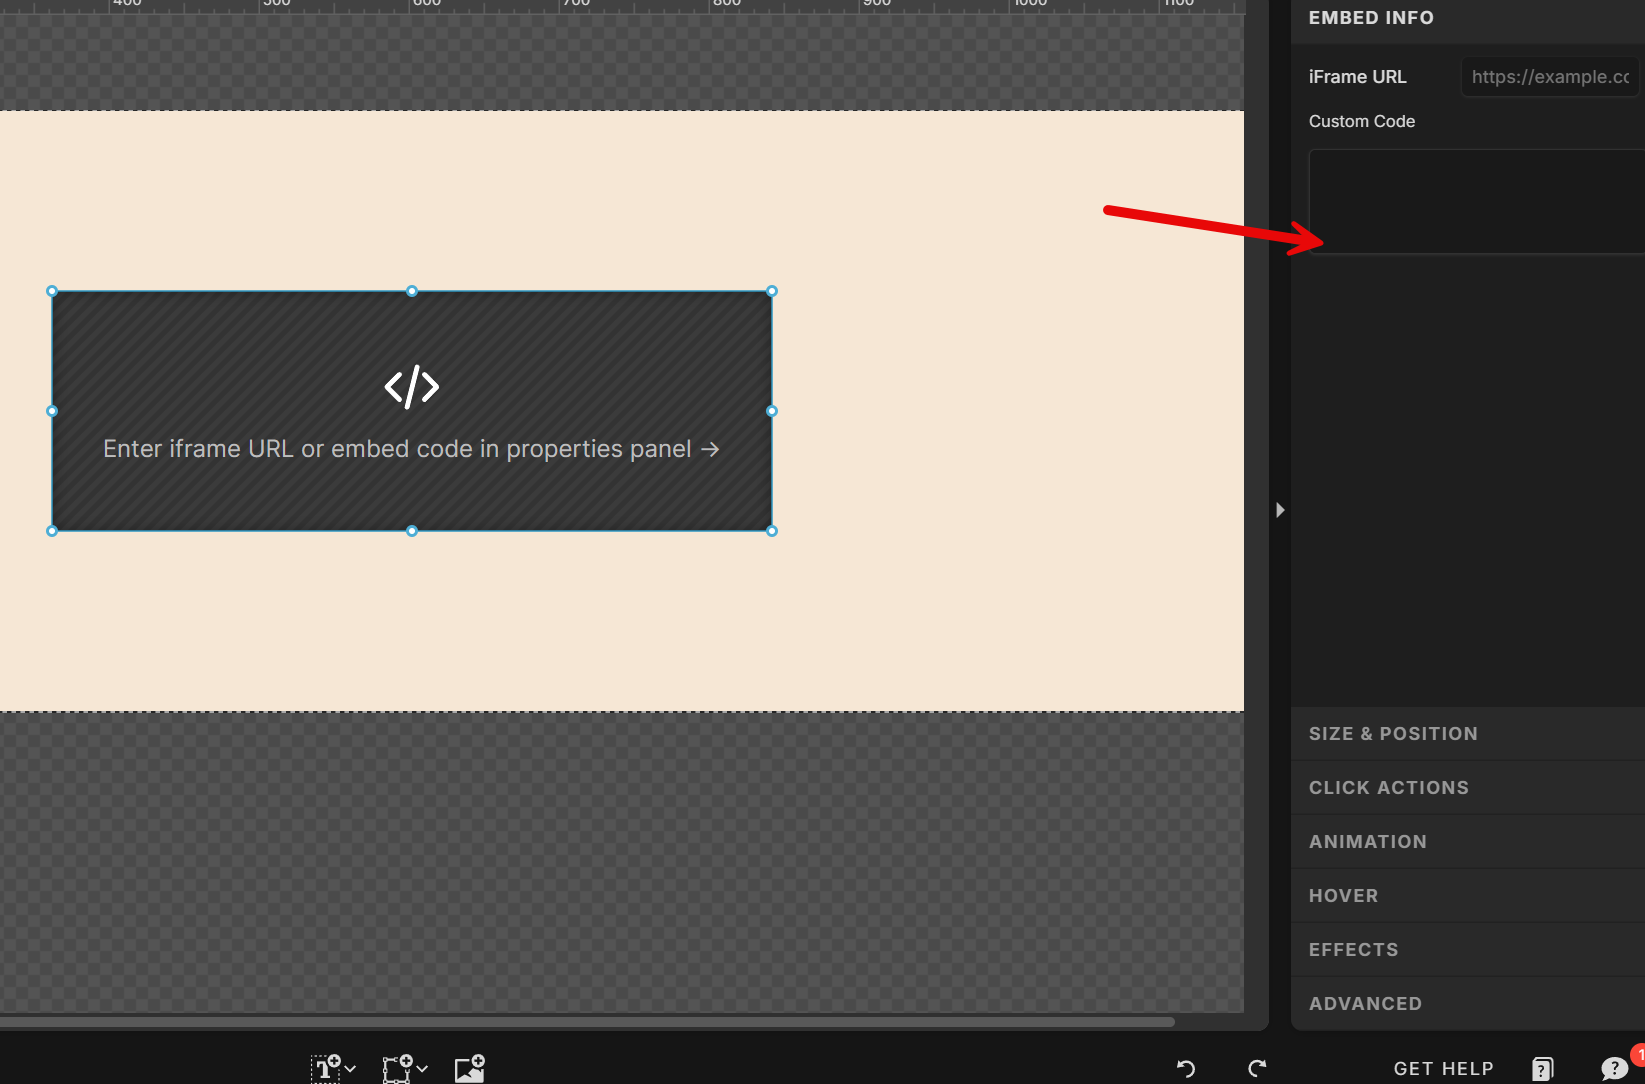
A black box will appear on your page. On the right-hand side, click on the ‘Custom Code’ area.
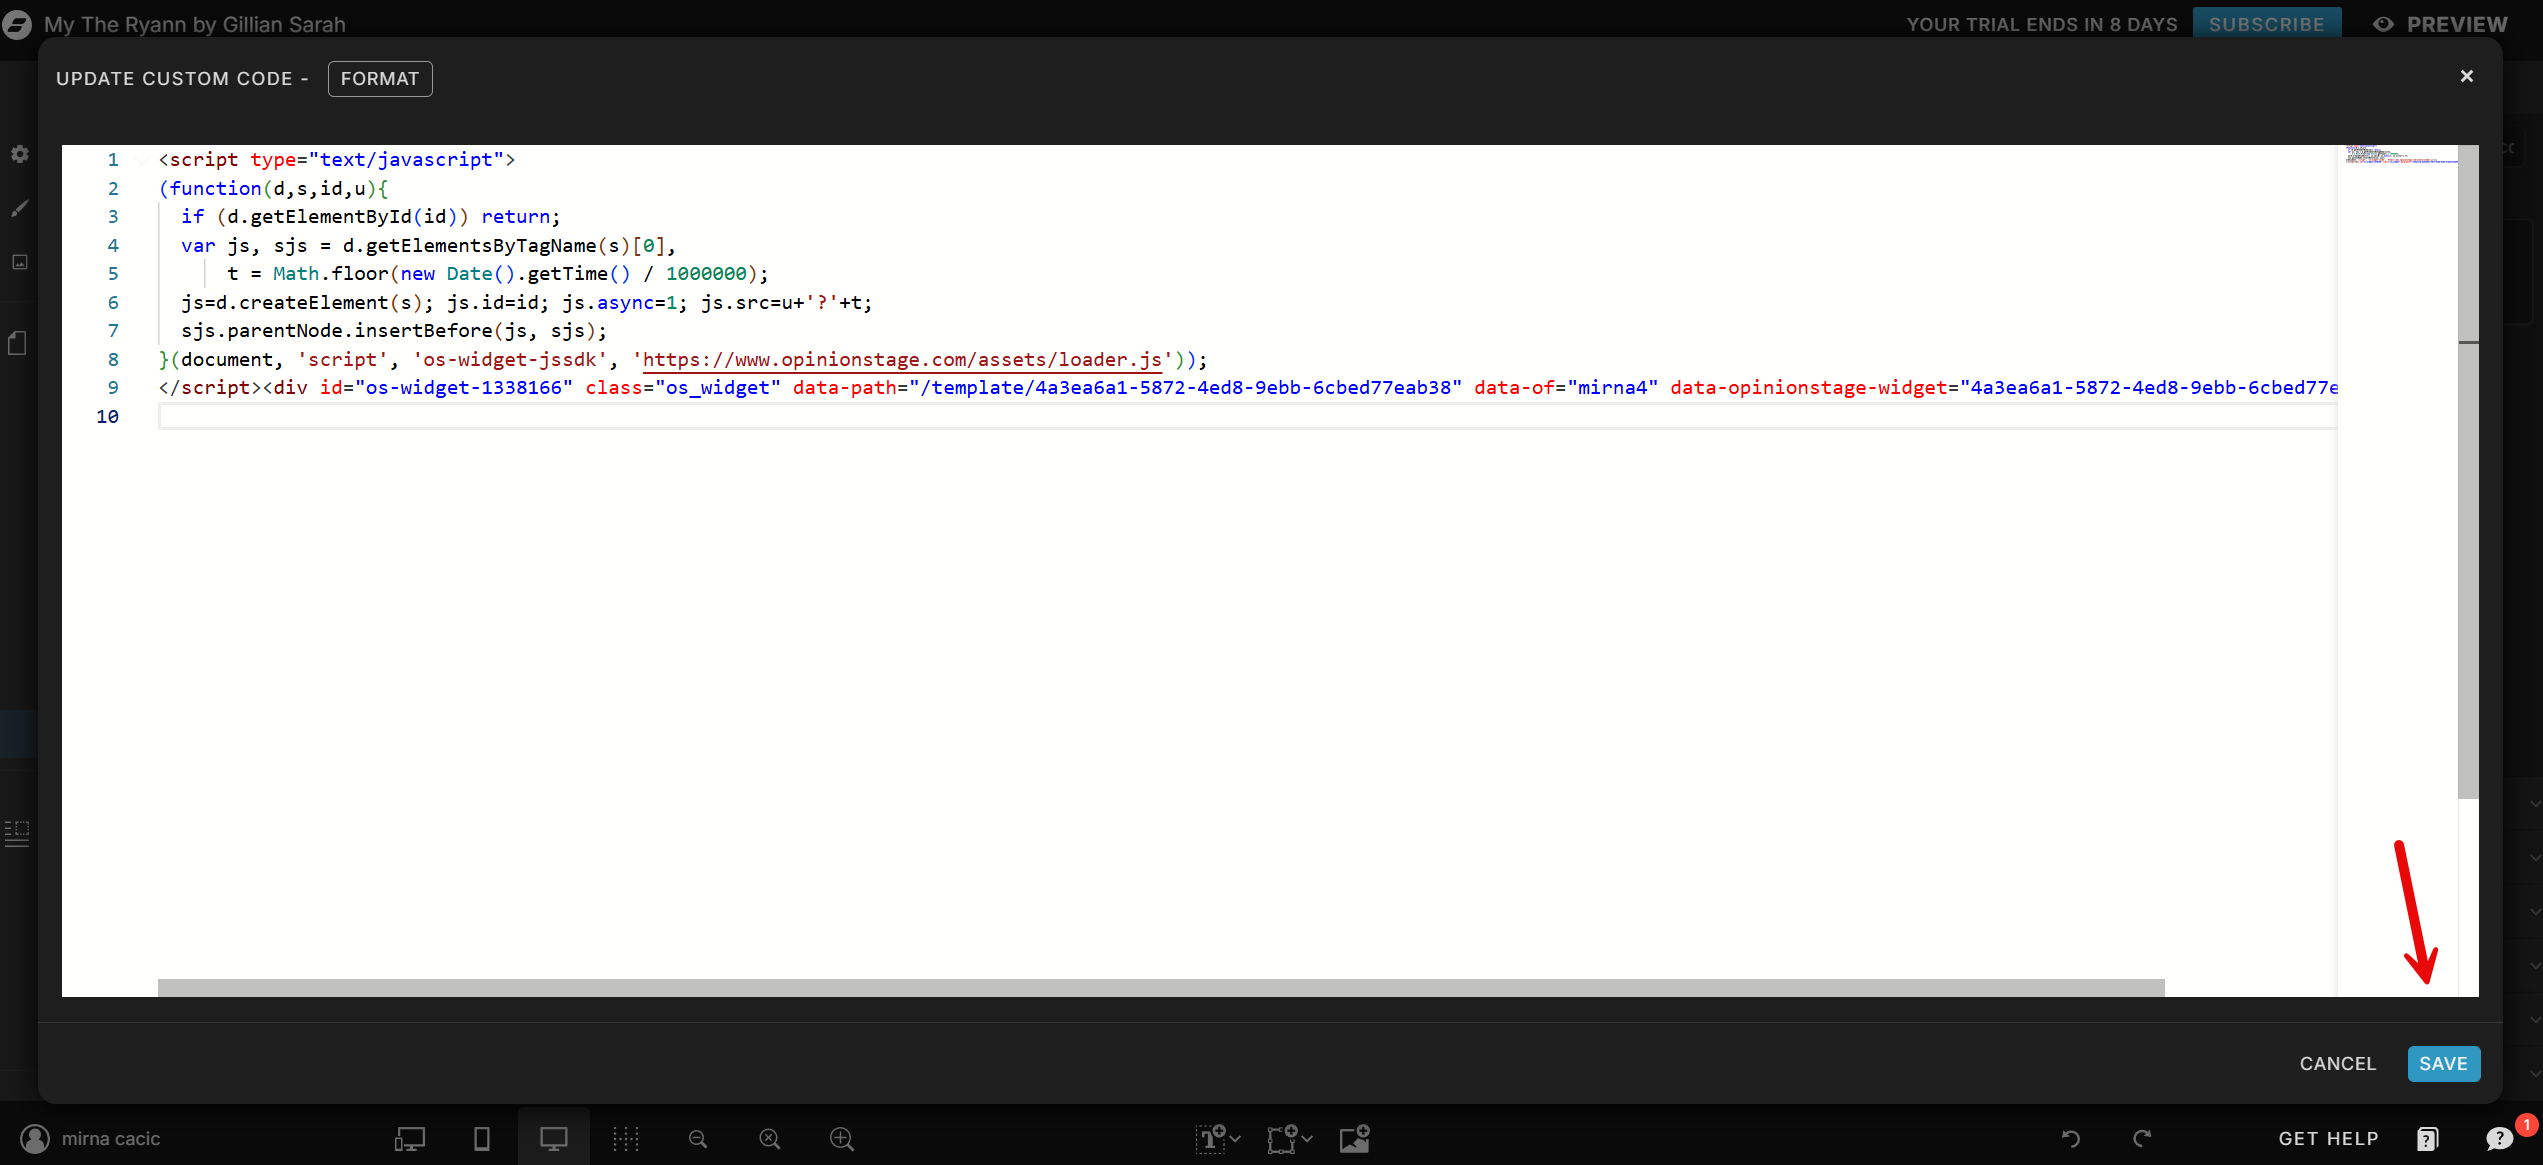
A white box will pop up on your screen. Paste your embed code here and click ‘Save’ in the bottom right corner.
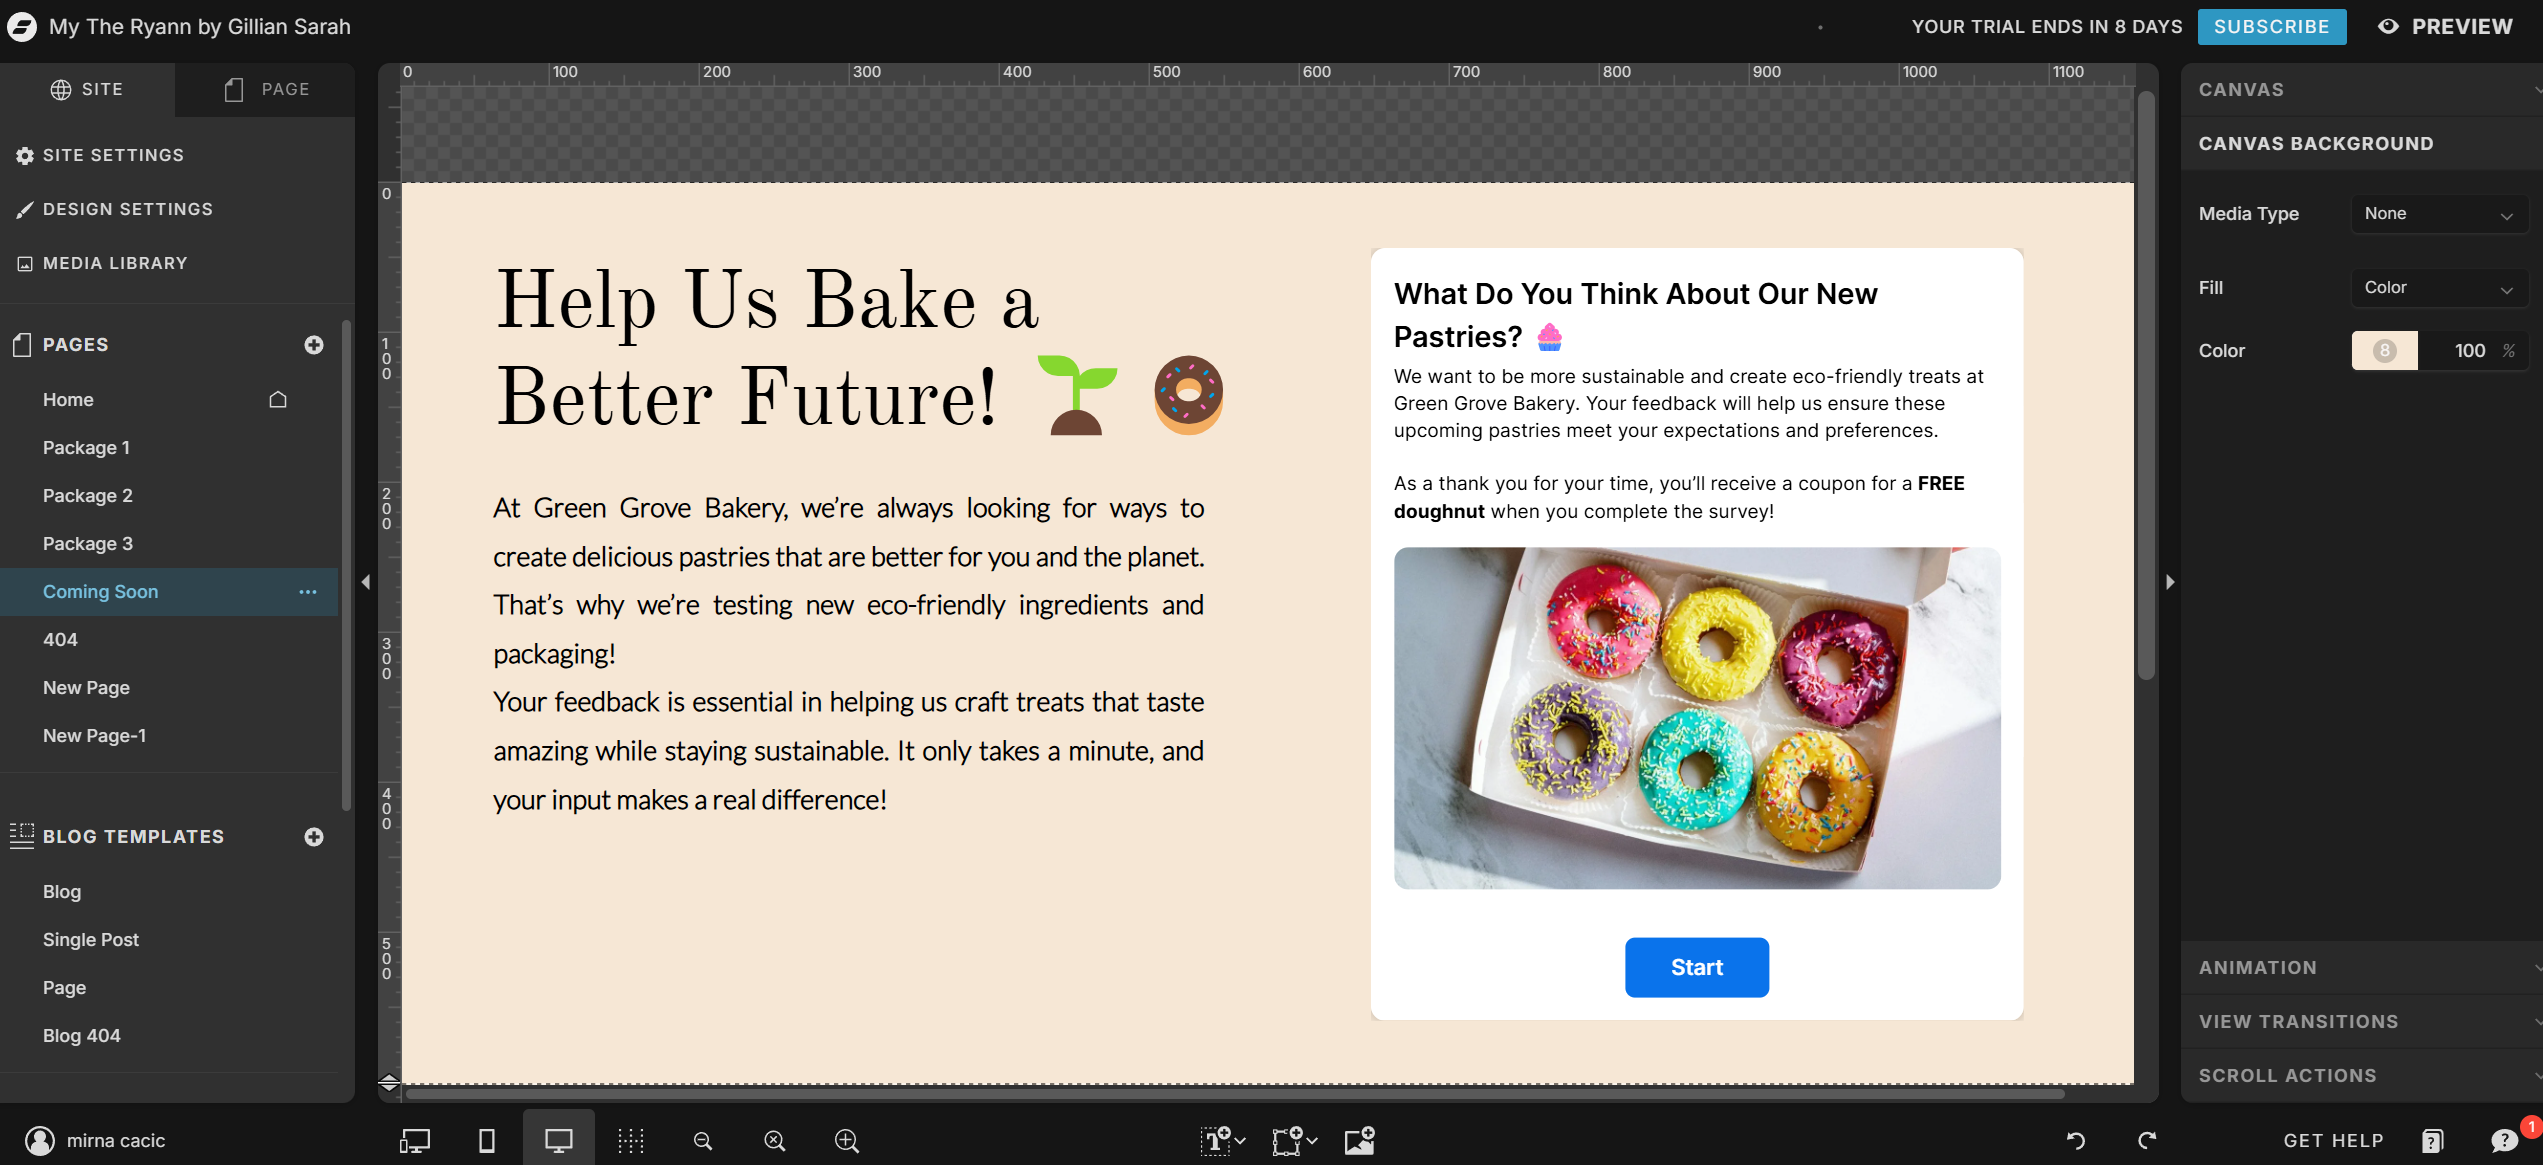
Now your survey should be visible on your site. You can adjust its position or resize it to fit your layout. Just be sure to click ‘Publish’ to save your changes.
And now you’re done!
Here’s How to Get the Best Results for Your Showit Survey
Now that your survey is up and running, follow our tips below to get the most out of it:
📝Keep it Engaging
A great survey isn’t just about the questions you ask – it’s about how you ask them. Using a mix of question types, adding visuals, and keeping it concise can make the experience more engaging, reduce respondent fatigue, and lead to higher response rates.
Speaking of respondent fatigue, let’s look at ways to keep people engaged and encourage them to complete your survey. Even the best surveys can lose responses if they feel too long, repetitive, or unexciting.
- Incorporate different question types – Try using video questions to add context and image answer options to help clarify choices. If you need deeper insights, include open-ended questions, but use them sparingly to avoid overwhelming respondents.
- Keep it short and focused – Stick to 5-10 essential questions to make the survey feel quick and easy.
- Personalize your survey – Use skip logic to display questions that align with each respondent’s answers, avoiding irrelevant or unnecessary ones and making the experience feel personalized.
- Enable the progress bar – Let respondents see how far along they are to keep them motivated and reduce drop-off.
The more engaging your survey is, the more valuable responses you’ll get! Experiment and test different formats to keep it interactive and user-friendly.
📣Share the Survey Where it Counts
More responses mean better insights. Spread the word by:
- Adding a popup or banner on your site
- Promoting it in your email newsletter or on social media
- Placing a QR code on product packaging or including the survey link in order confirmation emails
🎁Reward & Follow Up
If you’re offering an incentive (like a discount or freebie), include a link at the end of the survey or send it in a follow-up email. You can also follow up later to thank respondents and send them exclusive offers, product updates, or helpful content related to their interests.
🎯Turn Responses Into Actionable Insights
You can check responses in real-time by going to your analytics dashboard. Here you can track trends, patterns, and drop-off points. See which questions engage users the most and refine your survey based on these insights. Use this data to improve your products, services, and customer experience.
Looking for more ways to engage your audience? Try creating a fun Showit quiz or a quick Showit poll for your website.
Ready to get started?
Create a Survey